
Vue SSR服务端渲染 VueX预取数据 实现SEO优化
Vue SSR服务端渲染服务端渲染获取页面静态数据VueX 预取ajax(后台)数据/src下创建entry-client.js、entry-server.js文件entry-client.jsimport Vue from 'vue'import { createApp } from './main.js'const { app, router, store } = createApp()if
Vue SSR服务端渲染
- 服务端渲染获取页面静态数据
- VueX 预取ajax(后台)数据
/src下创建entry-client.js、entry-server.js文件
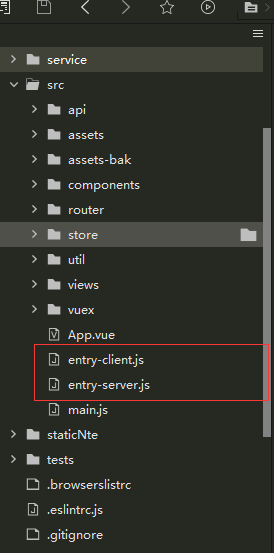
entry-client.js
import Vue from 'vue'
import { createApp } from './main.js'
const { app, router, store } = createApp()

if (window.__INITIAL_STATE__) {
  store.replaceState(window.__INITIAL_STATE__)
}

router.onReady(() => {
  router.beforeResolve((to, from, next) => {
    // 添加路由钩子函数,用于处理 asyncData.
    // 在初始路由 resolve 后执行,
    // 以便我们不会二次预取(double-fetch)已有的数据。
    // 使用 `router.beforeResolve()`,以便确保所有异步组件都 resolve。
    const matched = router.getMatchedComponents(to)
    const prevMatched = router.getMatchedComponents(from)

    // 我们只关心非预渲染的组件
    // 所以我们对比它们,找出两个匹配列表的差异组件
    let diffed = false
    const activated = matched.filter((c, i) => {
      return diffed || (diffed = (prevMatched[i] !== c))
    })

    if (!activated.length) {
      return next()
    }

    // 这里如果有加载指示器 (loading indicator),就触发
    Promise.all(activated.map(c => {
      if (c.asyncData) {
        return c.asyncData({ store, route: to })
      }
    })).then(() => {
      // 停止加载指示器(loading indicator)

      next()
    }).catch(next)
  })

  app.$mount('#app')
})

Vue.mixin({
  beforeRouteUpdate(to, from, next) {
    const { asyncData } = this.$options
    if (asyncData) {
      asyncData({
        store: this.store,
        route: to
      }).then(next).catch(next)
    } else {
      next()
    }
  }
})
entry-server.js
import { createApp } from './main.js'

export default context => {
  return new Promise((resolve, reject) => {
    const { app, router, store } = createApp()

    router.push(context.url)

    router.onReady(() => {
      const matchedComponents = router.getMatchedComponents()
      if (!matchedComponents.length) {
        return reject({ code: 404 })
      }

      // 对所有匹配的路由组件调用 `asyncData()`
      Promise.all(matchedComponents.map(Component => {
        if (Component.asyncData) {
          return Component.asyncData({
            store,
            route: router.currentRoute
          })
        }
      })).then(() => {
        // 在所有预取钩子(preFetch hook) resolve 后,
        // 我们的 store 现在已经填充入渲染应用程序所需的状态。
        // 当我们将状态附加到上下文,
        // 并且 `template` 选项用于 renderer 时,
        // 状态将自动序列化为 `window.__INITIAL_STATE__`,并注入 HTML。
        context.state = store.state

        resolve(app)
      }).catch(reject)
    }, reject)
  })
}
现在为预取数据打下基础,当然无论你是否需要预取数据都可以使用这一段
/src/store 下新建api.js
import {
	url
} from '../util/https.js'//这是为了区分生产环境和开发环境的一个变量而已
//可以将url改成你们的ip地址
//上线时改成服务器地址

import axios from "axios"
export function fetchItem(item) {
	return new Promise(function(resolve, reject) {
		axios({
			url: url + item.url,
			method: item.type,
			params: item.params
		}).then(function(res) {
			resolve(JSON.stringify(res.data));
		})

	})
}
/src/store/index.js VueX改为函数导出
import Vue from 'vue'
import Vuex from 'vuex'

Vue.use(Vuex)

import {
	fetchItem
} from './api'

export function createStore() {
	return new Vuex.Store({
		state: {

		},
		mutations: {
			setItem(state, {
				id,
				item
			}) {
				Vue.set(state.items, id, JSON.parse(item))
			}
		},
		actions: {
			// `store.dispatch()` 会返回 Promise,
			// 以便我们能够知道数据在何时更新
			fetchItem({
				commit
			}, item) {
				return fetchItem(item).then(rel => {
					commit('setItem', {
						id: item.id,
						item: rel
					})
				})
			}
		}
	});
}
/router/index.js 将路由改为函数导出
export function createRouter() {
	return new VueRouter({
		mode: 'history', //一定要是history模式
		base: process.env.BASE_URL,
		routes: []
	})
}
/main.js 中间省略了无关内容
1.中导入router和vuex 安装vuex-router-sync并导入
import { createRouter } from '@/router'
import { createStore } from "@/store";
import { sync } from 'vuex-router-sync'


2.new Vue 这一块 改成函数 导出app、router、store
export function createApp() {
  const router = createRouter();
  const store = createStore()  // +
  sync(store, router)
  const app = new Vue({
    router,
    store,      // +
    render: h => h(App)
  });
  return { app, router,store };
}
public文件夹下增加index.template.html index.html我删掉了,因为没用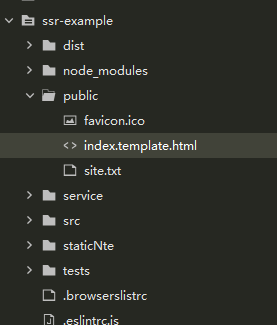
这个html文件内需要有这句注释并放置在body内,因为他会将vue里面的内容渲染后与这句注释替换(大致是这么个意思)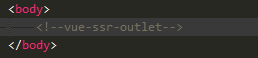
package.json 里面的scripts对象中增加
 "build:client": "vue-cli-service build",
 "build:server": "cross-env WEBPACK_TARGET=node vue-cli-service build --mode server",
 "build:win": "npm run build:server && move dist\\vue-ssr-server-bundle.json bundle && npm run build:client && move bundle dist\\vue-ssr-server-bundle.json"
vue.config.js
// vue.config.js

const VueSSRServerPlugin = require("vue-server-renderer/server-plugin");
const VueSSRClientPlugin = require("vue-server-renderer/client-plugin");
const nodeExternals = require("webpack-node-externals");
const merge = require("lodash.merge");
const TARGET_NODE = process.env.WEBPACK_TARGET === "node";
const target = TARGET_NODE ? "server" : "client";
// 启用css提取
//开启gzip
const productionGzipExtensions = /\.(js|css|json|txt|html|ico|svg)(\?.*)?$/i;
const CompressionWebpackPlugin = require('compression-webpack-plugin');

module.exports = {
	productionSourceMap: false,
	publicPath: '/',
	outputDir: 'dist', //打包时生成的生产环境构建文件的目录
	assetsDir: 'staticNte', // 放置生成的静态资源 (js、css、img、fonts) 的 (相对于 outputDir 的) 目录
	lintOnSave: false,
	css: {
		extract: false, // 是否使用css分离插件 ExtractTextPlugin
		// sourceMap: false, // 开启 CSS source maps
		// loaderOptions: {}, // css预设器配置项
		// modules: false // 启用 CSS modules for all css / pre-processor files.
	},
	devServer: {
		open: true, //是否自动弹出浏览器页面
		host: '0.0.0.0',
		disableHostCheck: true, //解决域名访问本地运行地址时出现Invalid Host header的问题
		port: 8054, //端口
		proxy: {
			'/api': {
				ws: true,
				changeOrigin: true, // 表示是否跨域
				target: '需要跨域的地址', //
				pathRewrite: {
					'^/api': '' //重写接口
				}
			}
		}
	},
	configureWebpack: () => ({
		// 将 entry 指向应用程序的 server / client 文件
		entry: `./src/entry-${target}.js`,
		// 对 bundle renderer 提供 source map 支持
		devtool: 'source-map',
		target: TARGET_NODE ? "node" : "web",
		node: TARGET_NODE ? undefined : false,
		output: {
			libraryTarget: TARGET_NODE ? "commonjs2" : undefined
		},
		// https://webpack.js.org/configuration/externals/#function
		// https://github.com/liady/webpack-node-externals
		// 外置化应用程序依赖模块。可以使服务器构建速度更快,
		// 并生成较小的 bundle 文件。
		externals: TARGET_NODE ?
			nodeExternals({
				// 不要外置化 webpack 需要处理的依赖模块。
				// 你可以在这里添加更多的文件类型。例如,未处理 *.vue 原始文件,
				// 你还应该将修改 `global`(例如 polyfill)的依赖模块列入白名单
				whitelist: [/\.css$/, /demo-lib/],
				allowlist: /\.css$/
			}) : process.env.NODE_ENV == 'development' ?  undefined : {
				'vue': 'Vue',
				'vue-router': 'VueRouter',
				'vuex': 'Vuex',
				'axios': 'axios',
				// 'element-ui': 'ELEMENT'
			}
			,
		optimization: {
			splitChunks: TARGET_NODE ? false : undefined
		},
		plugins: [TARGET_NODE ? new VueSSRServerPlugin() : new VueSSRClientPlugin(), new CompressionWebpackPlugin({
			filename: '[path].gz[query]',
			algorithm: 'gzip',
			test: productionGzipExtensions,
			threshold: 1024,
			minRatio: 0.8
		})]
	}),
	chainWebpack: config => {
		config.module
			.rule("vue")
			.use("vue-loader")
			.tap(options => {
				merge(options, {
					optimizeSSR: false
				});
			});
	}
};

根目录下执行npm run build:win (打包命令)
也就是上一步增加的命令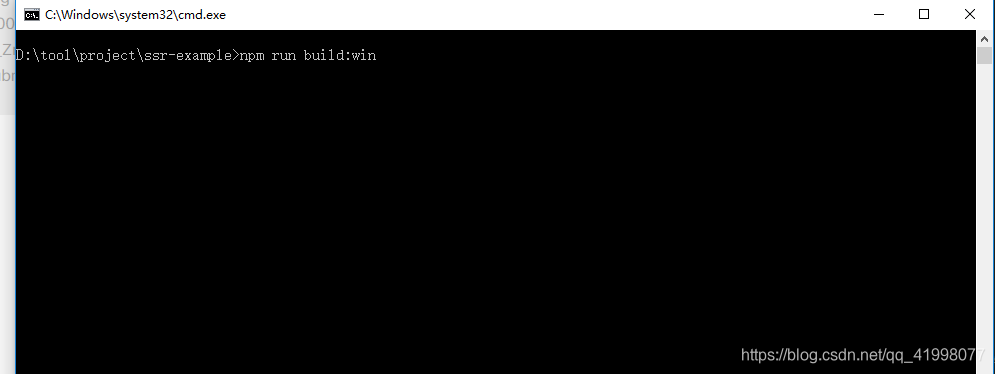
打包后的dist文件会多出这两个json文件 .gz 文件是开启了gzip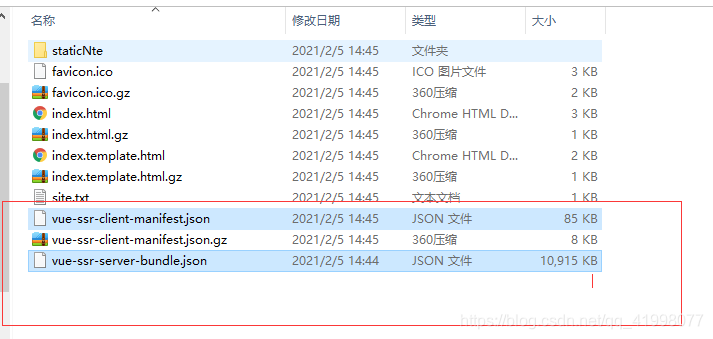
根目录下创建service文件 并在里面创建index.js
这个是为了启动node服务,将编译好的Vue放置在index.template.html中,如果会的话请忽略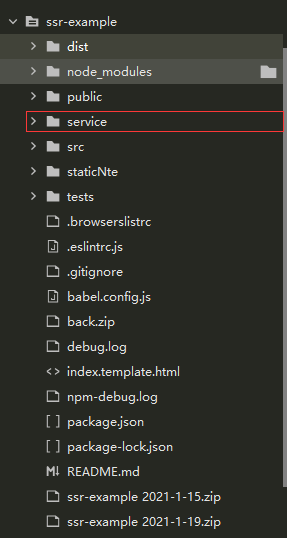
service/index.js
我个人习惯用espress 你也可以换其他中间件
只是为了启动服务
const express = require("express");
const Vue = require("vue");
const fs = require("fs");
const axios = require('axios')
const qs = require('qs')
const app = express();

// 创建渲染器
const {
	createBundleRenderer
} = require("vue-server-renderer");
const serverBundle = require("../dist/vue-ssr-server-bundle.json");
const clientManifest = require("../dist/vue-ssr-client-manifest.json");
const renderer = createBundleRenderer(serverBundle, {
	runInNewContext: false,
	template: fs.readFileSync("../dist/index.template.html", "utf-8"), // 宿主模板文件
	clientManifest
});

// 中间件处理静态文件请求
app.use(express.static("../dist", {
	index: false
}));

app.get("*", async (req, res) => {
  try{
   const context = {
			url: req.url
		};
	//获取编译后的完成html
	 html = await renderer.renderToString(context);
	 res.send(htmlZip);
	}catch (error) {
		res.status(500).send(html);
	}
})
到此就基本结束了前端的活
部署
服务器安装node环境
安装pm2
通过pm2 start index.js -i max 这一句是为了开启负载均衡 max可以为数字,max是根据服务器cpu核数自动开,是几核就开几核,数字是你想开几核就开几核
开启的端口是3001
用的服务器的阿里云 安全组开放 3001的端口
nginx配置代理
注意事项
node开启的中间件处理静态文件请求可以关闭通过nginx开启
可以通过node处理跨域问题,页面请求node,node请求服务器。达到转发
加载慢可以使用外部的cdn
vue开启gzip,nginx同时配置gzip
页面级别缓存 这个网上有可以找一找,出现乱码查看index.template.html里面的meta中是否有utf-8
到此结束
第一次写这种东西,不知道有没有遗漏
http://www.sensorservice.com
实际的项目
产品详情和文章详情使用了预取数据
github
只实现了服务端渲染 vuex预取数据没有加 ,可以看上面加
有时间的话再加vuex预取数据吧

电影级数字人,免显卡端渲染SDK,十行代码即可调用,工业级demo免费开源下载!
更多推荐

 0
0 0
0- 0


 已为社区贡献1条内容

所有评论(0)