
【手把手教学】用博查Web Search API实现多模态搜索:打造专属于你的搜索引擎!
大家好啊,我是北极熊。手把手教学系列也是好久没有更新了,其实在《轻松认识RAG》系列中带大家完整的实现过一个RAG系统,不过我在翻阅我前面文章的时候,发现在使用博查API时,都是用的它返回的文字部分,但其实,博查API是可以实现多模态搜索的啊!今天就手把手的带大家使用博查的Web Search API打造一个专属于你的搜索引擎!
目录
前言
大家好啊,我是北极熊。手把手教学系列也是好久没有更新了,其实在《轻松认识RAG》系列中带大家完整的实现过一个RAG系统,不过我在翻阅我前面文章的时候,发现在使用博查API时,都是用的它返回的文字部分,但其实,博查API是可以实现多模态搜索的啊!今天就手把手的带大家使用博查的Web Search API打造一个专属于你的搜索引擎!
一、为什么需要多模态搜索?
其实这个原因的介绍呢,也不用说太多,大家也知道,视频的表现力 > 图片的表现力 > 文字的表现力。那么在日常搜索中,我们往往也需要同时获取多种形式的信息。比如搜索“故宫旅游攻略”,既想看到详细的文字介绍,也需要查看实景图片辅助决策。但是传统搜索引擎往往存在的问题是:
- SEO优化:首页大多都是广告或者很多其他无关信息,还可能收集你的隐私数据;
那么我们使用博查Web Search API 的多模态搜索功能,可一次性返回文字和图片结果,且支持灵活的参数配置。下面就让我们从技术实现到代码实战,逐步解析其应用方法。
二、前期准备
2.1 环境设置与依赖安装
使用以下命令安装必要的 Python 库:
pip install json requests flask
2.2 获取博查API key
- 前往博查AI开放平台 → API Key管理 → 创建新Key
(具体步骤可以参考文章【手把手教学】用Python玩转博查AI Web Search API!全网搜索一键搞定!)
三、代码详解
3.1 博查Web Search API调用部分
import json ,requests

def search(query,api_key):
    url = "https://api.bochaai.com/v1/web-search"
    headers = {'Authorization': f'Bearer {api_key}', 'Content-Type': 'application/json'}
    payload = json.dumps({
    "query": query,  # 搜索关键词
    "summary": True,        # 返回文本摘要
    "count": 50,            # 返回10条结果
    "freshness": "noLimit"
})

    response = requests.post(url, headers=headers, data=payload)
    data = response.json()

    # 分类提取结果
    text_results = data.get('data', {}).get('webPages', {}).get('value', [])
    image_results = data.get('data', {}).get('images', {}).get('value', [])
    return text_results, image_results
3.2 请求参数设计:
payload = json.dumps({
    "query": query,  # 搜索关键词
    "summary": True,        # 返回文本摘要
    "count": 50,            # 返回10条结果
    "freshness": "noLimit"
})
3.3 响应结果
我们主要关注两部分,一个是返回的网页内容,一个是返回的图片内容。可以把返回结果简单看成这个样子:
{
  "data": {
    "webPages": {
      "value": [...]  // 文字结果列表
    },
    "images": {
      "value": [...]  // 图片结果列表
    }
  }
}
- 文字结果:包含标题、链接、摘要、网站来源等;
- 图片结果:包含缩略图URL、原图链接、尺寸信息等。
3.4 多模态结果解析
通过解析不同字段,可分类提取信息:
# 提取文字结果
text_results = data.get('data', {}).get('webPages', {}).get('value', [])
for item in text_results:
    print(f"标题:{item['name']}")
    print(f"链接:{item['url']}")
    print(f"摘要:{item['snippet']}\n")

# 提取图片结果
image_results = data.get('data', {}).get('images', {}).get('value', [])
for img in image_results:
    print(f"缩略图:{img['thumbnailUrl']}")
    print(f"原图链接:{img['contentUrl']}")
接下来,就让我们加一些简单的前端魔法!
四、实战:构建多模态搜索系统完整代码
4.1 项目完整架构
Web_Search/
├── app.py                 # Flask主程序
├── static/
│   └── css/
│       └── style.css     # 自定义样式
└── templates/
    └── index.html         # 前端代码
4.2 后端代码部分:app.py
import os
import json
import requests
from flask import Flask, render_template, request
API_KEY = "你的博查API key"

app = Flask(__name__)

@app.route('/', methods=['GET', 'POST'])
def index():
    if request.method == 'POST':
        query = request.form.get('query')
        count = 50

        # 调用博查API
        url = "https://api.bochaai.com/v1/web-search"
        headers = {
            'Authorization': f'Bearer {API_KEY}',
            'Content-Type': 'application/json'
        }
        payload = json.dumps({
            "query": query,
            "summary": True,
            "count": count
        })

        try:
            response = requests.post(url, headers=headers, data=payload)
            response.raise_for_status()
            data = response.json()

            # 提取文字和图片结果
            text_results = data.get('data', {}).get('webPages', {}).get('value', [])
            image_results = data.get('data', {}).get('images', {}).get('value', [])

            return render_template('index.html',
                                 text_results=text_results[:5],# 这里为了效果展示,只在网页上显示前5条结果。
                                 image_results=image_results[:5],
                                 query=query)

        except requests.exceptions.RequestException as e:
            error = f"API请求失败: {str(e)}"
            return render_template('index.html', error=error)

    return render_template('index.html')

if __name__ == '__main__':
    app.run(debug=True)
4.3 前端代码部分:templates/index.html
<!DOCTYPE html>
<html lang="zh">
<head>
<meta charset="UTF-8">
<meta name="viewport" content="width=device-width, initial-scale=1.0">
<title>智能搜索系统 - 博查AI</title>
<link href="https://cdn.bootcdn.net/ajax/libs/twitter-bootstrap/5.1.3/css/bootstrap.min.css" rel="stylesheet">
<link rel="stylesheet" href="{{ url_for('static', filename='css/style.css') }}">
</head>
<body>
<div class="container mt-5">
<!-- 搜索框 -->
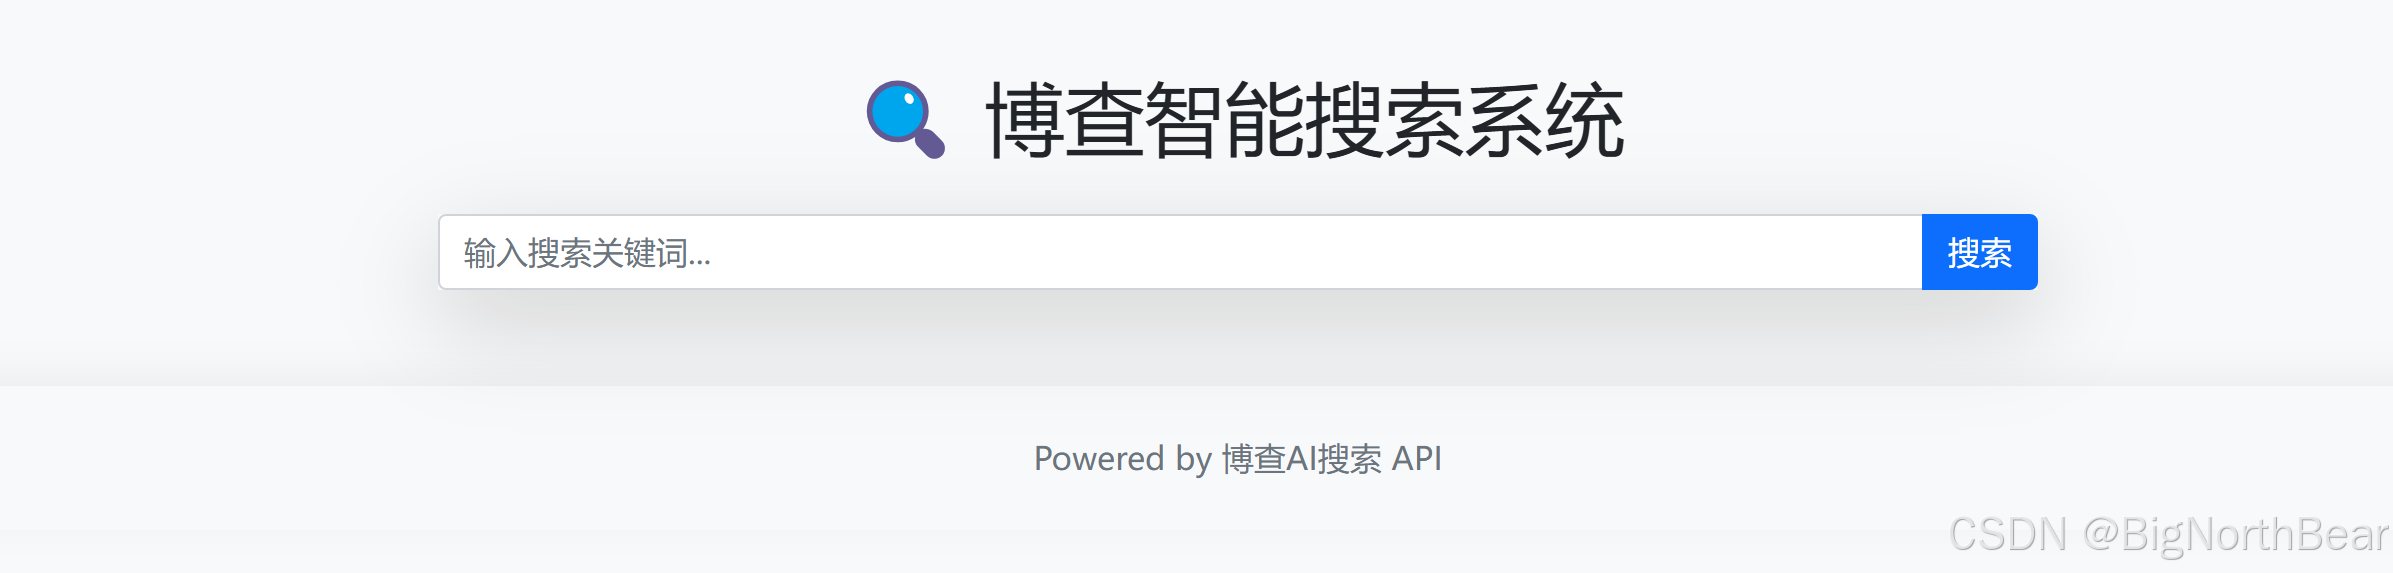
<h1 class="text-center mb-4">🔍 博查智能搜索系统</h1>
<form method="POST">
<div class="input-group mb-4 shadow-lg">
<input type="text"
class="form-control"
name="query"
placeholder="输入搜索关键词..."
value="{{ query if query else '' }}"
required>
<button class="btn btn-primary" type="submit">搜索</button>
</div>
</form>
<!-- 错误提示 -->
{% if error %}
<div class="alert alert-danger">{{ error }}</div>
{% endif %}
<!-- 文字结果 -->
{% if text_results %}
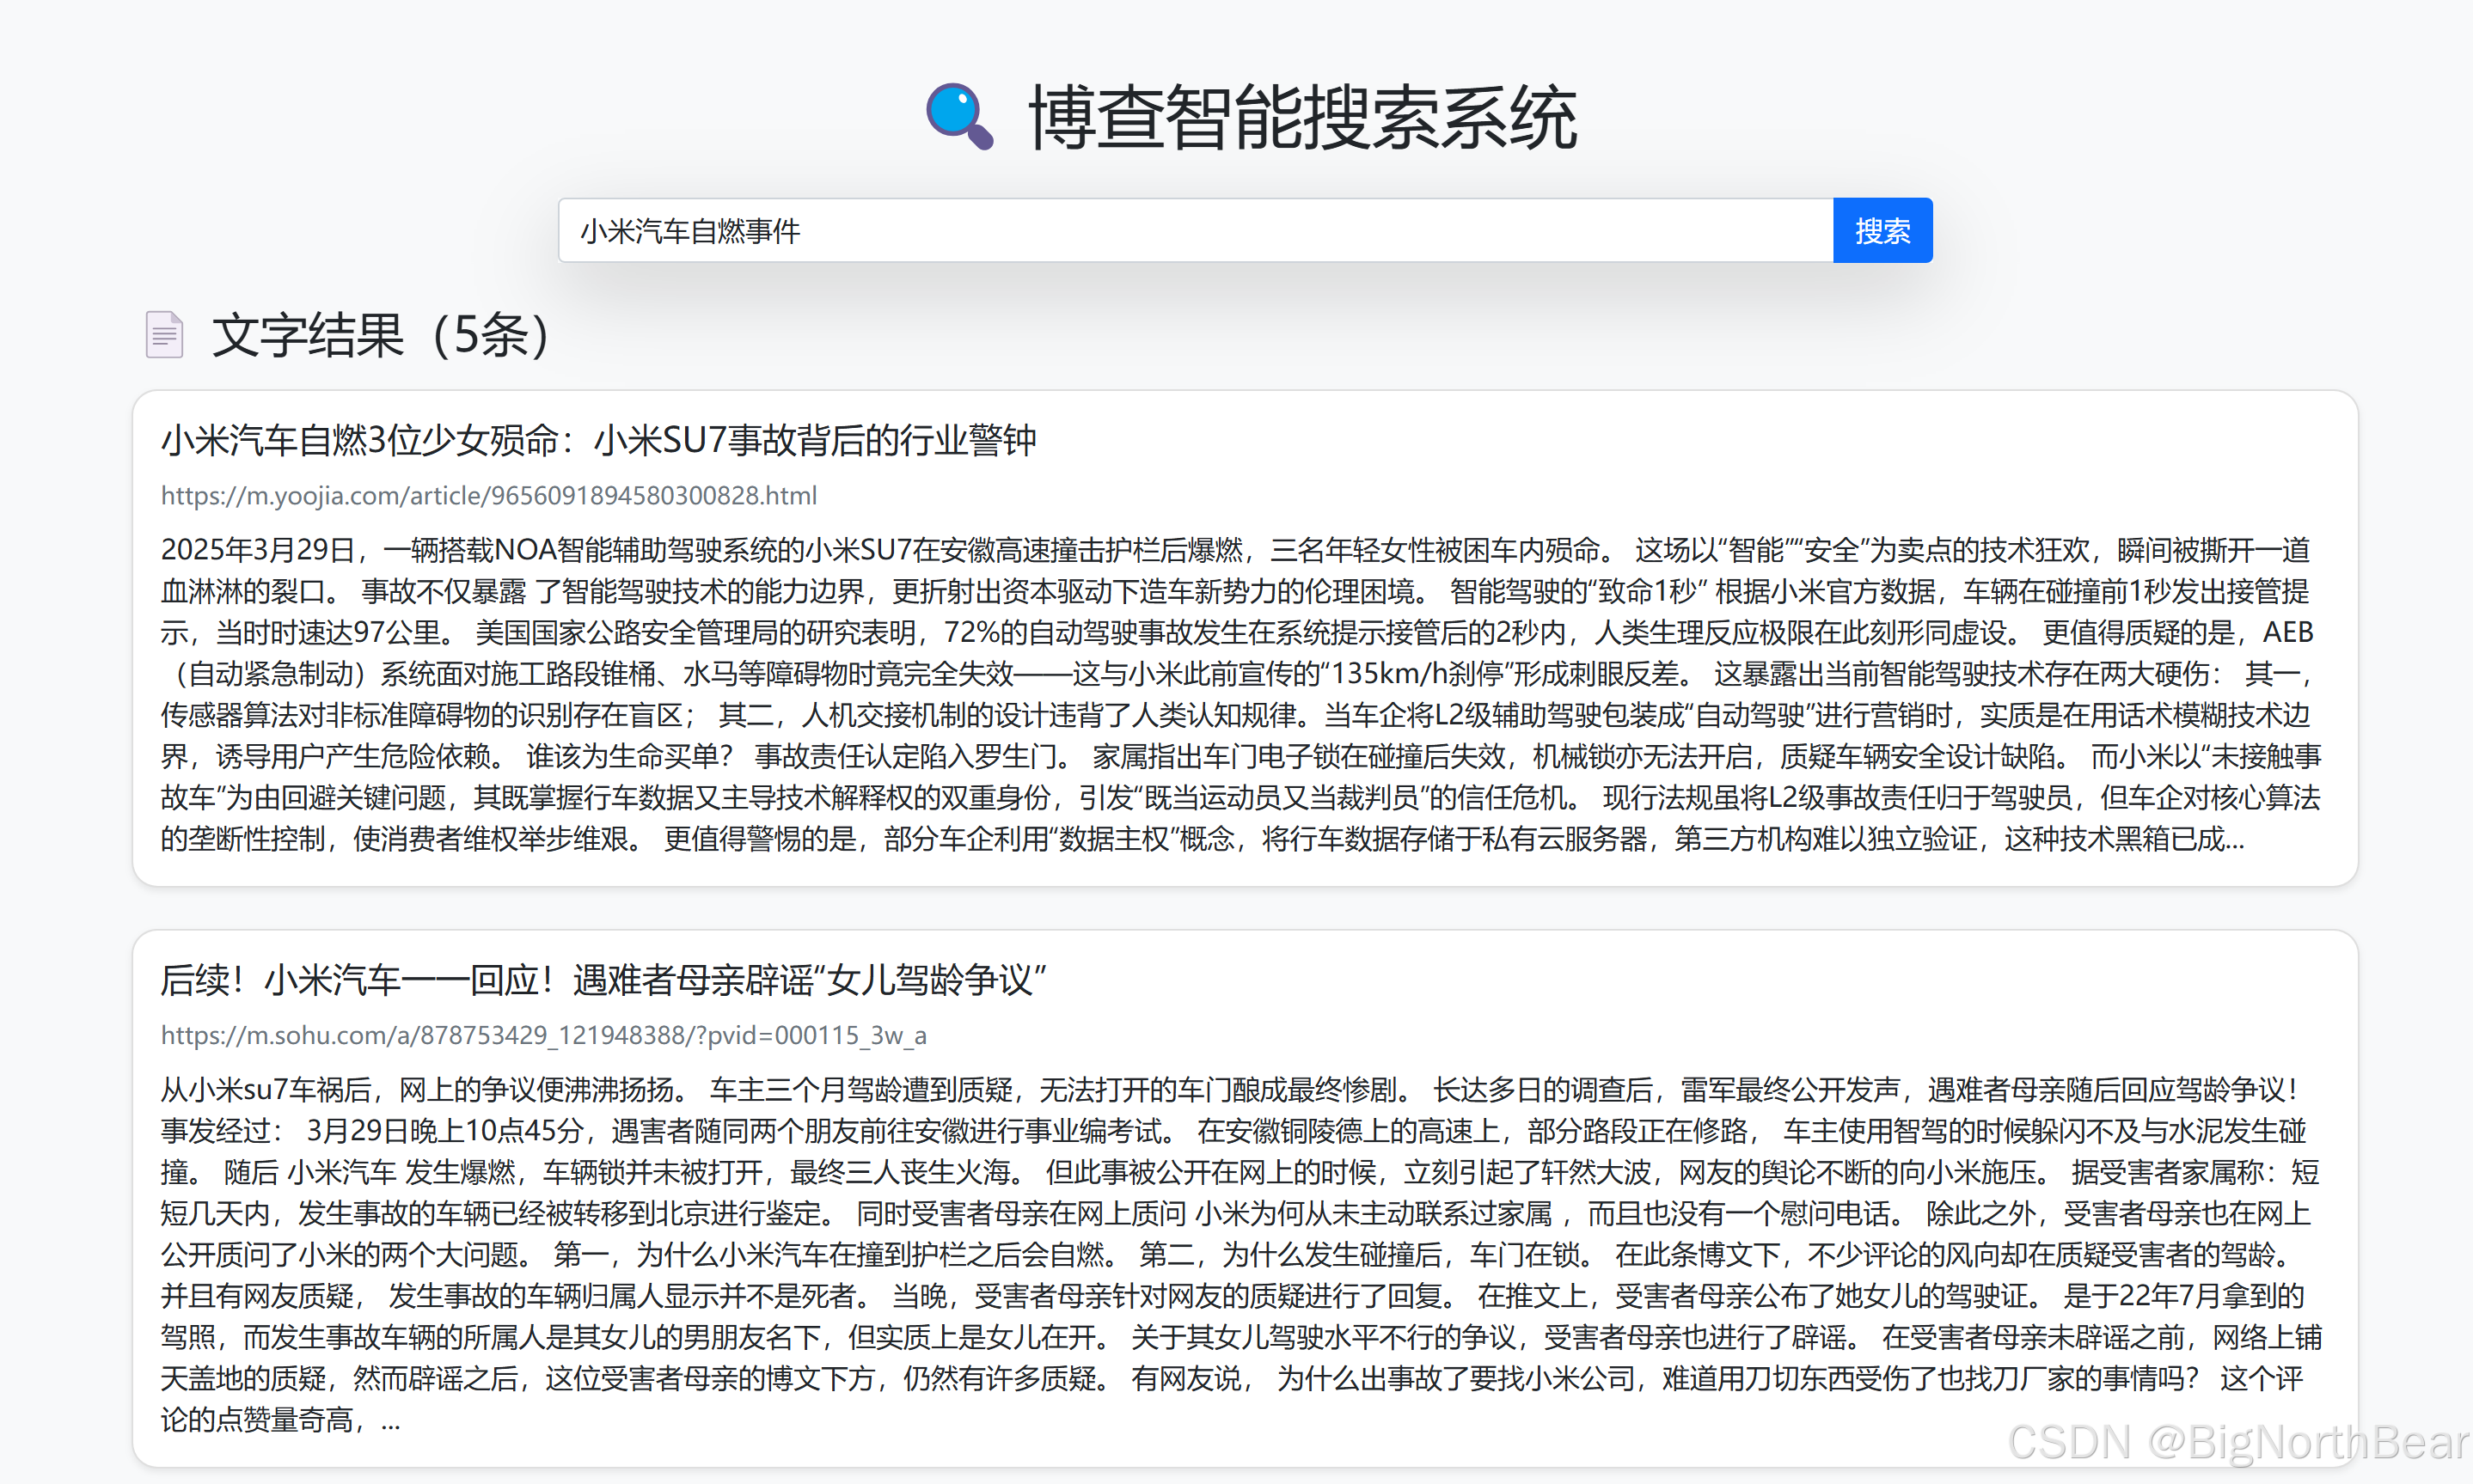
<h3 class="mb-3">📄 文字结果({{ text_results|length }}条)</h3>
<div class="row g-4">
{% for result in text_results %}
<div class="col-12">
<div class="card shadow-sm h-100">
<div class="card-body">
<h5 class="card-title">{{ result.name }}</h5>
<a href="{{ result.url }}" class="text-decoration-none" target="_blank">
<small class="text-muted">{{ result.displayUrl }}</small>
</a>
<p class="card-text mt-2">{{ result.summary }}</p>
</div>
</div>
</div>
{% endfor %}
</div>
{% endif %}
<!-- 图片结果 -->
{% if image_results %}
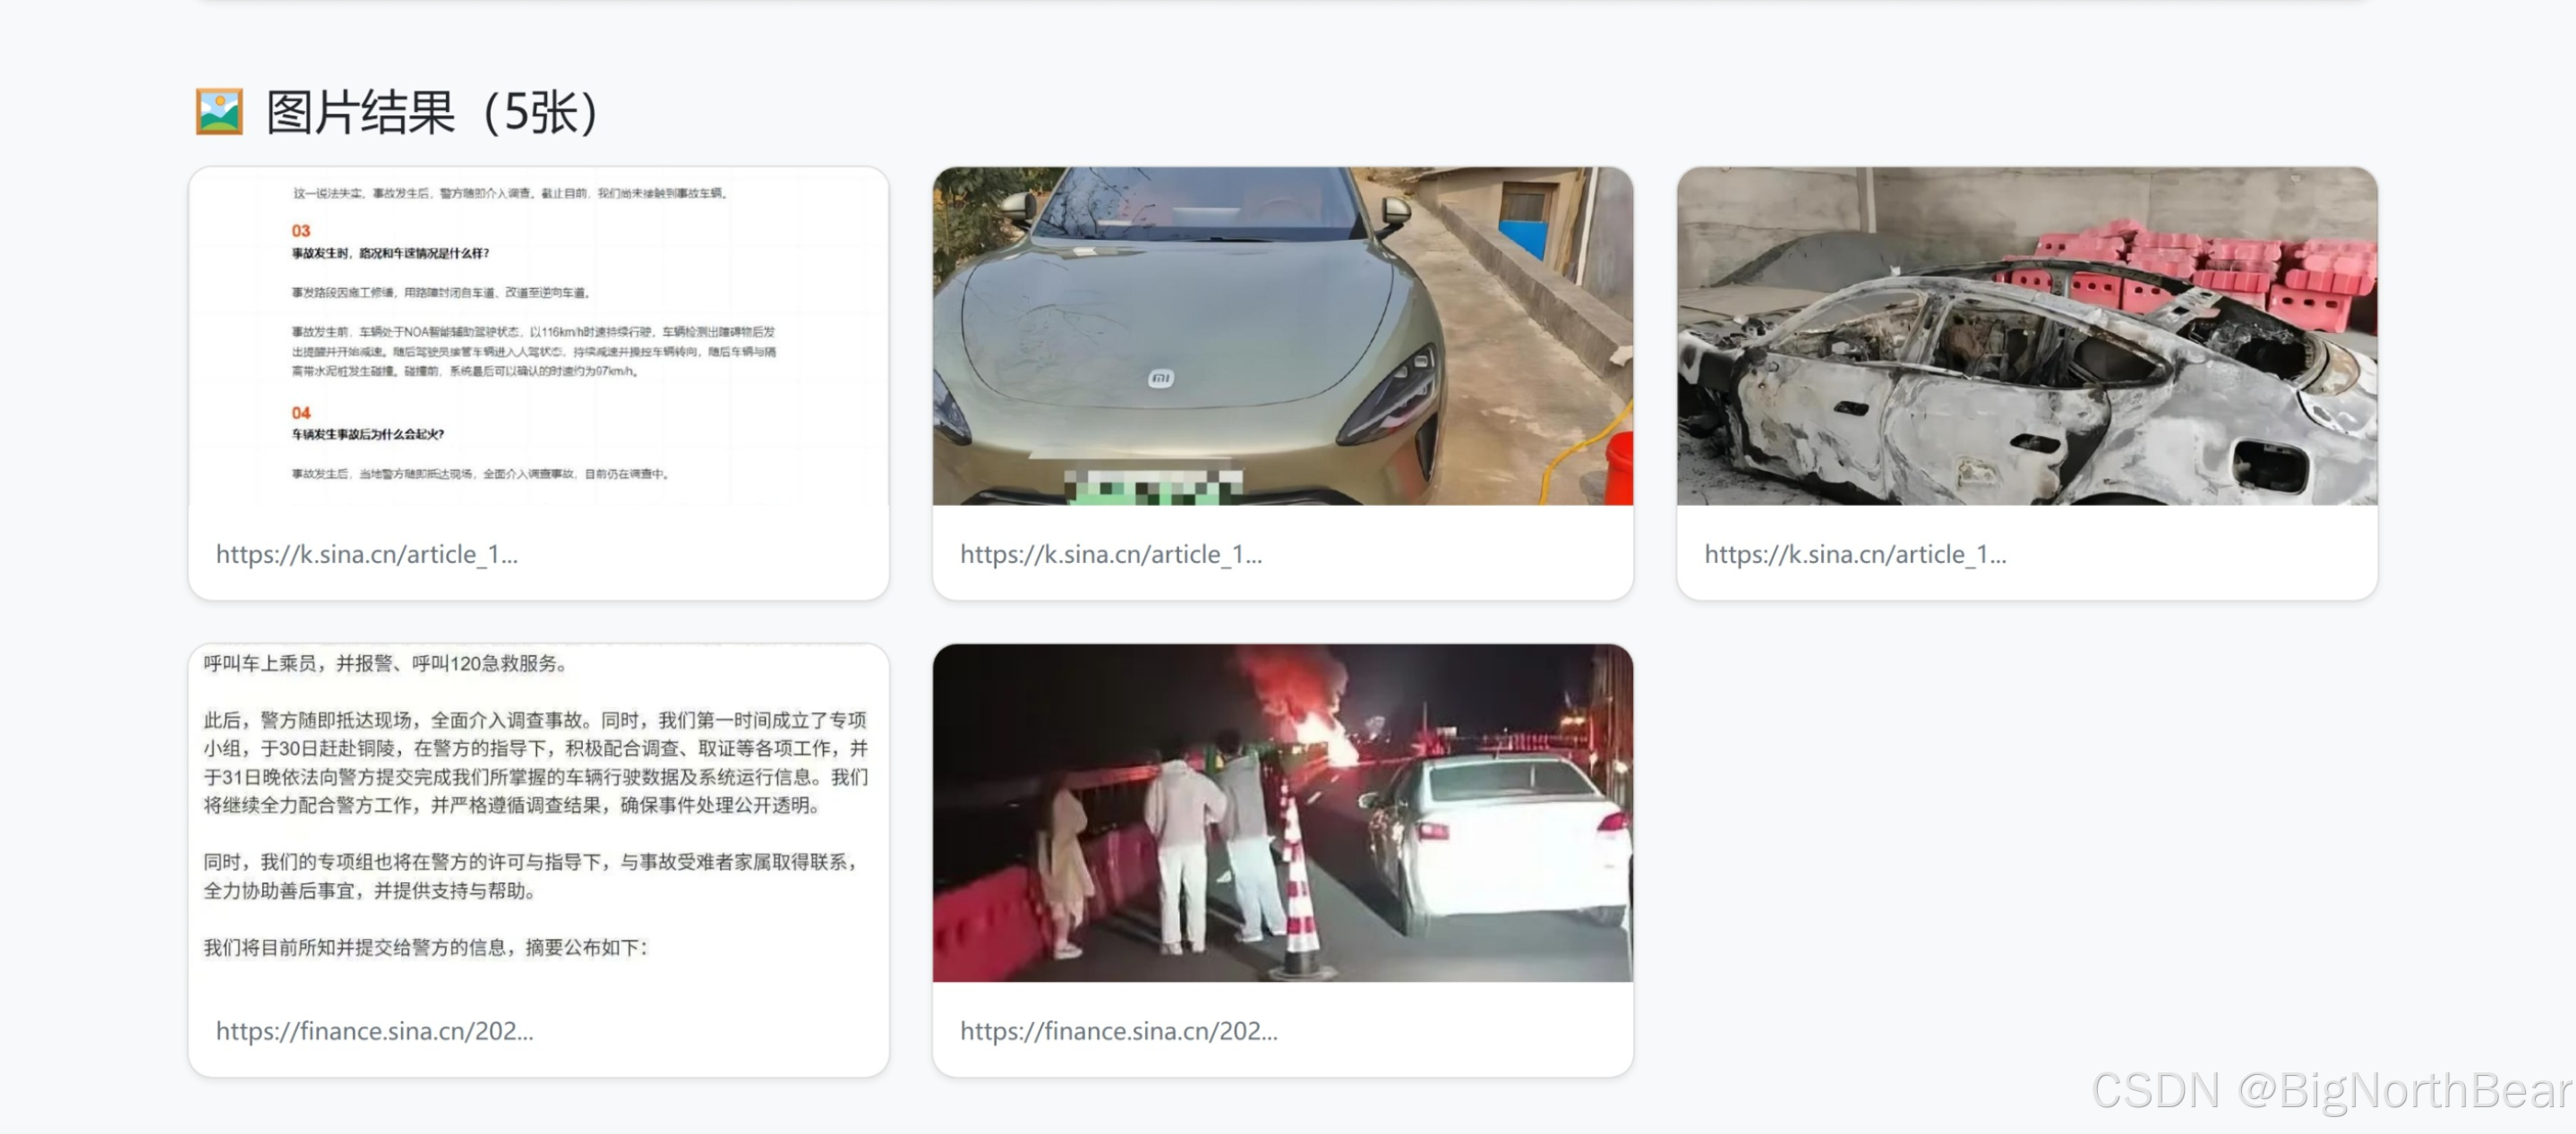
<h3 class="mt-5 mb-3">🖼️ 图片结果({{ image_results|length }}张)</h3>
<div class="row g-4">
{% for image in image_results %}
<div class="col-12 col-md-6 col-lg-4">
<div class="card shadow-sm h-100">
<a href="{{ image.contentUrl }}" target="_blank">
<img src="{{ image.thumbnailUrl }}"
class="card-img-top"
alt="{{ image.name }}"
style="height: 200px; object-fit: cover;">
</a>
<div class="card-body">
<small class="text-muted">{{ image.hostPageDisplayUrl|truncate(30) }}</small>
</div>
</div>
</div>
{% endfor %}
</div>
{% endif %}
</div>
<!-- 页脚 -->
<footer class="mt-5 py-4 bg-light">
<div class="container text-center">
<span class="text-muted">Powered by 博查AI搜索 API</span>
</div>
</footer>
</body>
</html>
4.4 前端代码的样式部分:static/css/style.css
body {
    background: #f8f9fa;
}

.card {
    transition: transform 0.2s;
    border-radius: 15px;
    overflow: hidden;
}

.card:hover {
    transform: translateY(-5px);
}

.input-group {
    max-width: 800px;
    margin: 0 auto;
}

.btn-primary {
    background: #0d6efd;
    border-color: #0d6efd;
}

footer {
    margin-top: 100px;
    box-shadow: 0 -5px 20px rgba(0,0,0,0.05);
}
五、效果展示
5.1 首页
5.2 搜索展示
文字部分
图片部分
完整结果

总结
通过这篇文章,我们应用了博查Web Search API的多模态搜索 技术,通过统一的接口返回文字和图片结果,成功的打造了属于自己的智能搜索引擎! 那么这个项目呢,可以无缝的接入到不管是RAG还是其他的像知识库啦,智能助手啦,都可以。大家可以自己把代码跑一下,尝试在代码上继续做一些新的改进!
🔗 系列文章推荐:
【手把手教学】用Python玩转博查AI Web Search API!全网搜索一键搞定!
【手把手教学】博查AI Semantic Reranker API:搜索领域一匹黑马!让搜索结果更智能!
【手把手教学】在Dify上集成博查Web Search API实现RAG!搭建你的第一个RAG!
【手把手教学】DeepSeek官方搜索API博查本地使用指南:从原理到实战,全面解锁智能搜索!

电影级数字人,免显卡端渲染SDK,十行代码即可调用,工业级demo免费开源下载!
更多推荐

 33
33 0
0- 0


 已为社区贡献4条内容

所有评论(0)